Industrial Styling Clay
This is the same stuff that the big boys in Detroit use when they are making full-size
models of their cars during the design process. I discovered it quite by accident while
watching a show on hotrods one night. I had seen it before but never made the connection
on just how useful it could be to my projects.
I will be putting more pictures up as this project progresses!
See also: The Oscar project!
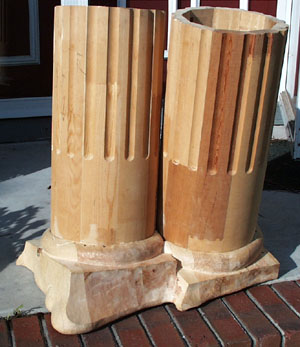
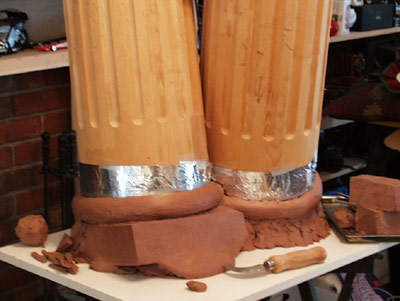 These columns were rescued from a dumpster by a
friend and provided inspiration for a table design. |
 |
 This is the clay pattern
with the columns removed and ready to be carved. I had to cut the base into two pieces to
fit in the duplicarver and will join them together again once they are carved. |
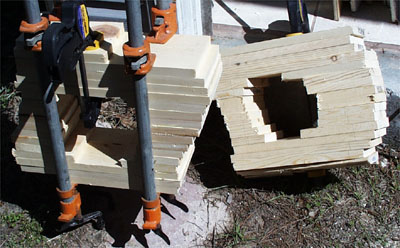 Here are the glued up 1 x 6s all ready to go! I
measured the highest point of the pattern and decided to use this stock to emphasize the
color of the plain wood. |
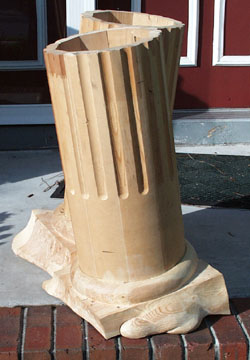
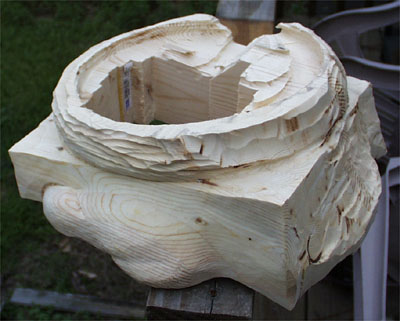 Starting to look
pretty good! This is one of the sections rough carved with a little detail work done on
one side. |
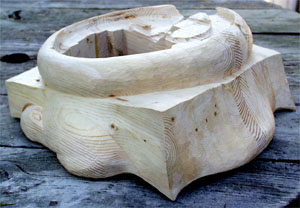 |
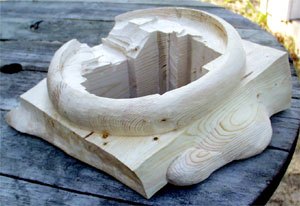 Half the base is just about done. I will finish it
at the time I join the two base pieces together. |
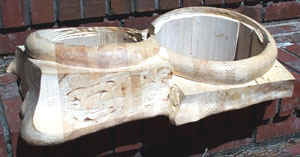
Here's the base put back together. With a little more surface carving and trimming to
accept the columns, I'll soon be able to start on the tops.
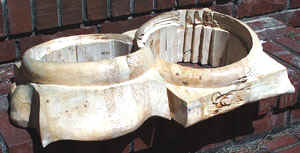
Columns are now in place. A little tweaking
will be needed on the joints but I can now
start on the Ionic scrolls for the tops!
|
|
|
I've been getting emails with my source for clay.
It is called Chavant clay.
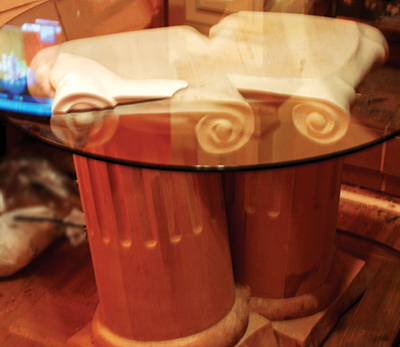
Almost done! I'm ready to try doing another one now!